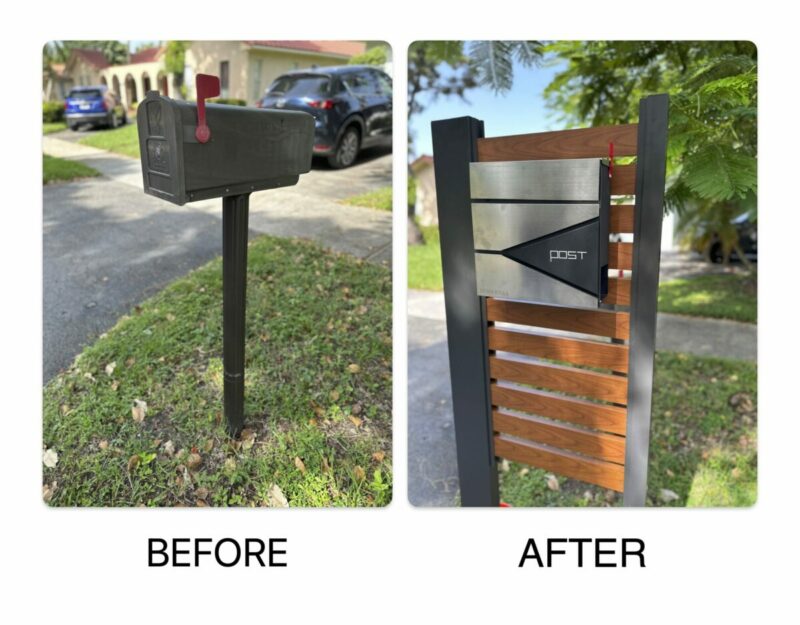
Installing a new mailbox is an easy and effective way to boost your home’s curb appeal, especially with an elegant aluminum mailbox. Whether you’re a homeowner or a contractor, having a stylish mailbox not only adds functionality but also creates a lasting impression. In this guide, we’ll walk you through the steps to properly install your new mailbox with ease.
Step 1: Preparing the Post Holes

To begin the installation, you’ll need to dig two holes for the mailbox posts. Here’s the recommended size for each:
- Hole 1: 18 inches wide by 6 inches in diameter
- Hole 2: 6 inches by 6 inches in diameter
Both holes should be dug to a depth of 2 feet, ensuring that the posts will stand securely. The two holes should be spaced about 2 feet apart, measured from center to center. This spacing is ideal for ensuring your mailbox is stable and well-supported. You can use a post hole digger for efficiency.
Step 2: Sliding the Posts into Place

Once the holes are prepared, it’s time to position the mailbox. Slide each post into its corresponding hole, ensuring they are properly aligned. This step is crucial for ensuring the structure remains straight and secure during the installation process.
Take your time during this stage to ensure the posts are upright and centered, as this will affect the overall appearance and stability of your mailbox once installed.
Step 3: Securing the Posts with Concrete or Filler

Next, fill each post hole with either traditional concrete, expanding foam concrete, or a quick-set filler material of your choice. This will hold the mailbox firmly in place, preventing it from shifting over time or due to harsh weather conditions.
Allow the filler material to settle around the posts, making sure it provides a solid base for your mailbox. This step is vital to ensuring long-term durability and stability.
Step 4: Letting the Concrete Set
After filling the holes, let the concrete or filler material set properly. During this process, it’s important to confirm that the mailbox structure is level and positioned correctly from all angles. You may need to make small adjustments before the concrete fully hardens, so be sure to check everything with a level to avoid tilting or unevenness.
Step 5: Follow USPS Guidelines for Placement
As a final step, it’s essential to follow the USPS mailbox placement guidelines to ensure your mailbox complies with postal regulations. Proper placement ensures that your mail carrier can easily access the mailbox and that it meets required standards. You can refer to the USPS mailboxguidelines for specific details on positioning. (https://www.usps.com/manage/mailboxes.htm)
Enjoy your beautiful, durable mailbox and the added curb appeal it brings to your property!


